As a professional artist, I’ve always been drawn to the challenge of capturing dogs on paper. Drawing dogs is a fun and rewarding hobby, whether you’re an aspiring artist or just looking to be creative. With over 450 dog breeds worldwide, the options for drawing dogs are endless1.
One of my favorite memories is with my family’s golden retriever, Buddy. Watching him run around the yard, his fur shining in the sun, inspired me to draw him. I found that drawing a dog is simple with the right steps2.
In this guide, I’ll show you how to draw a dog step by step. We’ll cover basic anatomy to the final touches. Whether you’re experienced or new to drawing, these tips will help you create amazing pet portraits. So, let’s get started and unleash your inner artist1!
Key Takeaways
- Drawing dogs can be a fun and rewarding experience, with over 450 recognized breeds to explore.
- The process involves understanding basic dog anatomy, using simple shapes, and building up details to create a realistic drawing.
- This guide provides step-by-step instructions and tips for sketching a dog, suitable for both kids and adults.
- The tutorial includes a printable with all the steps, making it easy to practice and perfect your dog-drawing skills.
- The platform offers a variety of drawing tutorials for a wide range of subjects, from animals to magical creatures and beyond.
Understanding Dog Anatomy
Mastering canine art starts with knowing dog anatomy. As an artist, it’s key to understand the proportions, basic shapes, and key features of dogs. This knowledge helps you draw realistic, accurate pictures of dogs.
Importance of Proportions
Proportions are the base of any good dog drawing. There are over 450 recognized breeds of dogs worldwide3, each with its own body shape and size. It’s important to get the head, body, and limbs in the right size for a lifelike drawing. Beginners should start by drawing the whole shape of the dog on paper first, then add details.3
Basic Dog Body Shapes
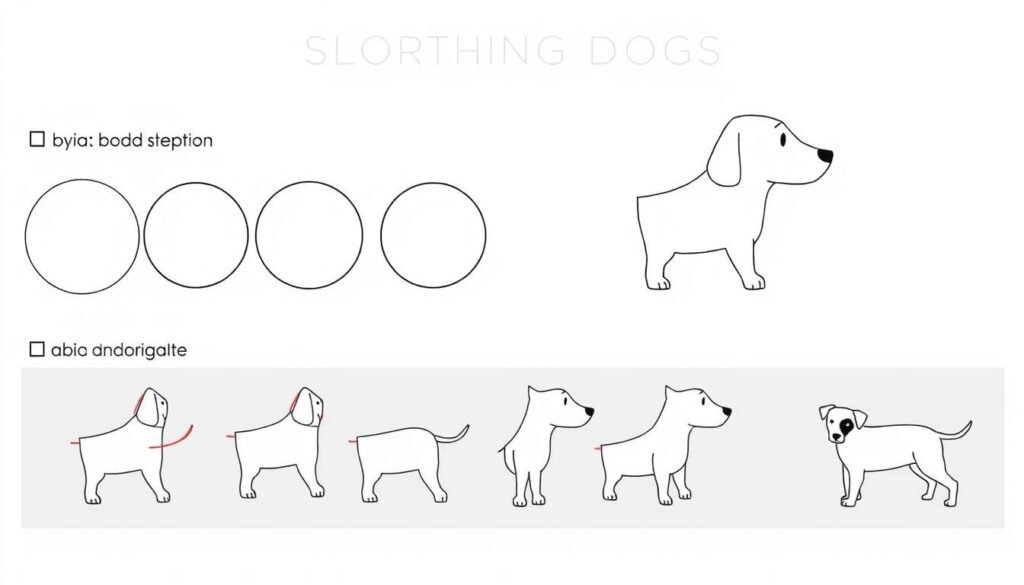
Drawing a dog can be done in 4 easy steps: Stick Dog Skeleton, Muscle, Faces and adding details, and Fur.3 Begin by seeing the dog’s body as basic shapes: three circles for the head, body, and midsection, and a smaller circle for the muzzle. Connect these to get the body outline, then add the legs, keeping their size in mind.
Key Features to Notice
After getting the basic shape, focus on the details that make each dog special. The anatomy of a dog face needs careful attention, including the nose area, eyes position, and overall proportions.3 Look at the size and placement of the eyes, nose, and ears, and the breed’s unique features. The last steps of drawing a dog include adding fur patches and fleshing out muscles and bones.3
Salvador Dali said studying anatomy is key to better drawing skills.3 Knowing the structure and proportions of dogs helps you draw more accurate and appealing pictures. These drawings truly show the essence of your subject.
Gathering Your Drawing Supplies
Before starting your dog-drawing adventure, gather the right drawing supplies. This will make your journey smooth and fun. Let’s look at the key tools and materials you’ll need.
Recommended Pencils and Erasers
A good pencil is the base of any drawing. Choose 2B, HB, and 4B pencils for different shades4. Also, a quality eraser is essential for making changes and fine-tuning your sketch5.
Choosing the Right Paper
The paper you pick affects your drawing’s quality and ease. Use sketch paper or greaseproof paper for smooth pencil work5. Beginners might find tracing paper useful for practicing and getting proportions right before the final drawing.
Optional: Color Materials
For a colorful twist, try colored pencils, pens, or watercolor paints. These can add vibrant colors and textures to your dog drawings5.
Don’t be afraid to experiment with different drawing supplies. Find what works best for you. With practice, you’ll create amazing dog drawings that truly capture their spirit.

Choosing the Right Dog Breed to Draw
Choosing the right dog breed can greatly impact your drawing success. Some breeds are easier for beginners, with simpler shapes and clear features. 
Popular Breeds for Beginners
Beginners might want to start with breeds like the Labrador Retriever, Golden Retriever, or Bulldog. These dogs have a classic look that’s easy to draw6. The Labrador Retriever is also a favorite among dog owners, making it a great choice for practice6.
Simplifying Complexity in Breeds
For those interested in more complex breeds, like the Poodle or Bernese Mountain Dog, focus on their main features. Break down their shapes into basic forms. Notice their unique traits, like the Poodle’s curls or the Bernese’s colors7.
Finding Reference Images
Good reference images are key for capturing a dog’s breed-specific details. Look for photos of the dog from the side, which shows its proportions and features best8. Websites with breed databases or stock photos are great places to find these images7.
“A good quality photograph of the dog standing in a side-on stance is recommended as reference material for drawing.”8
By picking a breed that matches your skill level and using quality reference images, you’ll improve your dog drawings. You’ll create realistic and appealing pictures876.
Sketching the Basic Shapes
Begin your dog sketching journey by focusing on basic shapes. These shapes, like circles, rectangles, and lines, are the foundation of your drawing9. They help you get the dog’s structure and proportions right10.
Starting with the Head Outline
Start with a large circle for the dog’s head. Inside, draw a smaller circle for the muzzle11. These shapes help place and size the dog’s facial features correctly10.
Adding the Body Structure
Next, draw a larger oval or rectangle for the body, connecting it to the head11. The body shape and size can change based on the breed10. Focus on the head, neck, and body relationship for a natural look.
Positioning the Legs
To finish the basic structure, add the legs with straight lines. Pay attention to joint positions and bending directions10. Remember, dog legs are different from human legs, so adjust their length and angles11.
Starting with these basic shapes lays a solid foundation for your dog sketch. It makes adding details and capturing the dog’s personality easier9.

“The key to creating a lifelike dog drawing is to master the fundamental shapes and proportions. With a strong foundation, you can bring your canine companion to life on the page.”
Remember, practice and patience are key when drawing dogs. Try different techniques and use reference materials to improve your skills and creativity10.
Refining Your Dog Drawing
As you move forward in drawing dogs, it’s time to make the basic shapes more detailed. This step is key for a realistic and engaging dog portrait12.
Detailing the Face
Begin by adding the fine details of your dog’s face. Make sure the eyes, nose, and mouth match the breed. Use pencils of different hardness, from HB to 4B-6B, for the right shading and details1213.
Shaping the Body and Tail
Then, work on the body and tail’s shape. Use curved lines for a natural look, capturing the dog’s posture and movement. Keep the reference image close to ensure the proportions and angles are right14.
Adding Texture to Fur
The fur’s texture is vital for a realistic dog drawing. Try hatching and zigzag lines for a fur look. Change the line density and direction based on the dog’s coat type and length for a natural finish1213.
By focusing on these steps, you’ll get closer to a lifelike dog drawing. Keep practicing, observing, and trying new things to get better at details, fur texture, and realistic rendering14.

Incorporating Expressions and Emotions
Creating a lifelike drawing of a dog starts with capturing their personality through expressions. Understanding the subtle cues in dog expressions and body language is key. This lets you bring your artwork to life and show a variety of emotions15.
Understanding Dog Expressions
Dogs show a wide range of emotions through their faces and body language. They can look alert, relaxed, or even happy. By studying these signs, like ear position and eye shape, you can draw their emotions accurately16.
Techniques for Conveying Emotion
To show a dog’s feelings, focus on the key features of their expressions17. For example, a happy dog might have their ears up and eyes wide. A frustrated dog might have their ears back and mouth open. Try these techniques to add emotions like joy, excitement, fear, or sadness to your drawings.
Common Expressions to Capture
- Alertness and vigilance
- Relaxation and contentment
- Playfulness and excitement
- Apprehension and fear
- Submission and submission
Mastering dog expressions can make your drawings truly connect with people. Keep watching and learning about canine behavior. This will help you make your dog drawings even more lifelike.

Outlining Your Drawing
After you’re happy with your first dog sketch, it’s time to outline it. The outlining process means tracing over your pencil lines with a pen or marker. This makes your drawing look clean and polished.
Choosing the Best Pen or Marker
Choosing the right pen or marker is key for outlining. Think about line width, ink flow, and what you like best. A fine-tipped pen or inking marker is great for detailed lines. A thicker nib is better for bold, expressive lines.
Best Practices for Outlining
Start outlining by keeping your lines consistent and strokes steady. Try different line thicknesses to make your dog’s features stand out. For fur, use short strokes in the hair direction for a natural look18.
Tips for Clean Lines
To get clean lines, work slowly and avoid shaky movements. If you mess up, erase and try again. With practice, your outlines will look professional and enhance your dog drawing19.
“The key to great outlines is confidence and a steady hand. Don’t be afraid to experiment until you find the perfect technique for your style.”
Adding Color to Your Dog Drawing
Bringing your dog drawing to life with vibrant colors is the next exciting step. Start by picking a color palette that matches the dog breed you’re drawing20. Choose a range of shades from light to dark for the base coat. This will help create depth and dimension.
Then, add colors for the tongue, inner ears, eyes, and nose. These details will make your drawing look more realistic21.
Choosing a Color Palette
Start with a lighter base color as your foundation. Then, build up the tone with two to three darker shades. This will give your dog’s coat a natural, multi-dimensional look21.
Also, pick a slightly lighter shade for areas where light would naturally hit the fur. This adds depth and volume to your drawing.
Blending Techniques
Smooth, seamless blending is key for a realistic fur-like texture. Start by lightly applying the base color. Then, use short, feathery strokes and gentle circular motions to blend in darker and lighter shades21.
This will create a soft, gradient effect. It captures the natural flow and movement of the dog’s coat.
Adding Shadows and Highlights
To make your dog drawing come alive, focus on shadows and highlights. Use a darker shade for shadows in areas like under the chin and behind the ears21. Then, apply a lighter color to areas that catch the most light, like the top of the head and the back.
This will give your dog a sense of depth and volume. It makes your drawing appear more three-dimensional.
Remember, the key to successful dog coloring is to take your time and experiment with different techniques. Keep refining your work until you’re happy with the result. With practice and attention to detail, you’ll capture the unique character and personality of your canine subject2021.
Final Touches and Enhancements
As you near the end of your dog drawing, it’s time to check your work and make any last changes. Final details can make your artwork stand out, capturing the essence of your dog. Step back and look at your drawing carefully, finding areas that need more work.
Reviewing Your Work
Look at your drawing closely, focusing on proportions, facial features, and how well it looks like the dog. Make note of any areas that seem off or need more work. This step will help you find the last tweaks to bring your drawing to life.
Adding Background Elements
Think about adding simple22 background elements to add context and interest to your dog drawing23. A plain background can look unfinished. Adding subtle details like a textured surface or a hint of a setting can frame your subject and make the composition more engaging.
Tips for Final Adjustments
When making your final24 adjustments, focus on details that will really improve your drawing. This could be adding whiskers, refining fur texture, or adding depth and dimension to your artwork22. The goal is to make it look real and authentic without too many23 details.
By reviewing your work, adding thoughtful24 background elements, and making strategic22 final adjustments, you can turn your dog drawing into a23 masterpiece. It will capture the unique character and personality of your dog.
Sharing Your Artwork
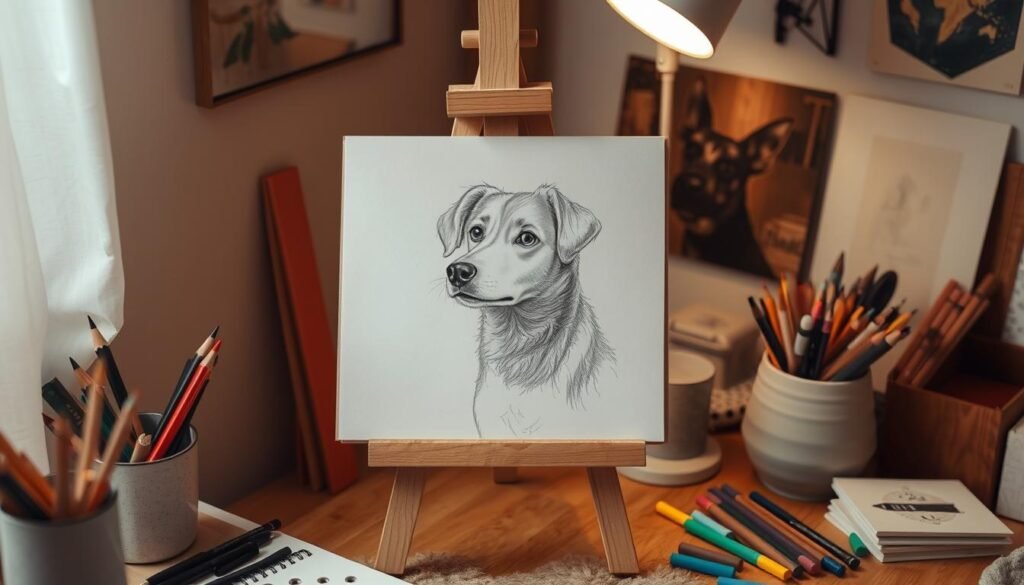
Once you’ve perfected your dog drawing, it’s time to share it with the world! Use a high-quality scanner or camera to capture the details and colors accurately. The article mentions using a small canvas and recommends getting a 5-pack for under $6 at Michael’s25
Look into different art-sharing platforms like Instagram, Facebook, and Twitter. These sites are great for showing off your dog drawings. They let you connect with other art lovers, get feedback, and maybe even gain followers. The virtual dog art show by AugiDog Art and the author encourages sharing on Instagram, boosting community engagement25.
Getting involved with the art community can help you improve and find inspiration. Join online art groups, local clubs, or connect with dog drawing fans. This way, you can share techniques, get feedback, and work on projects together. The article stresses the need for safe materials and supervision during lick painting to keep dogs safe25. By diving into the art sharing world, you’ll not only show off your talent but also grow as an artist.
FAQ
What is the importance of understanding dog anatomy when drawing?
What are the essential supplies needed for drawing dogs?
How do I choose the right dog breed to draw as a beginner?
What are the basic steps for sketching a dog’s form?
How do I add details and texture to my dog drawing?
How can I capture the dog’s personality and emotions in my drawing?
What are the best practices for outlining and coloring my dog drawing?
How can I share my dog drawings with others?
Source Links
- How to Draw a Dog – Step by Step Drawing Tutorial for a Cute Cartoon Dog – https://www.easypeasyandfun.com/how-to-draw-a-dog/
- How to draw a dog step by step – https://www.wacom.com/en-au/discover/draw/how-to-draw-a-dog
- How to Draw Dogs in 4 Easy Steps! – Emily’s Notebook – https://emilysnotebook.co.uk/all-posts/how-to-draw-dogs-in-4-easy-steps/
- Here’s How to Draw Your Dog’s Portrait Using a Photograph – https://www.liveabout.com/easy-dog-sketching-tutorial-1123312
- How to draw a dog step by step – https://www.gathered.how/arts-crafts/art/how-to-draw-a-dog-step-by-step
- How to Draw Dogs – https://www.clipstudio.net/how-to-draw/archives/160330
- How to Draw Dogs – Monika Zagrobelna – https://monikazagrobelna.com/2019/08/01/sketchbook-original-how-to-draw-dogs/
- How To Draw A Dog: A Step By Step Guide | BaldHiker – https://www.baldhiker.com/how-to-draw-a-dog-a-step-by-step-guide/
- How to Draw a Dog with Geometric Shapes | Easy Step-by-Step Art Activity & Video Tutorial for Kids » – https://www.abcdrawings.com/2020/09/pre-kidergarten-art-lesson-draw-dog.html
- How to Draw a Dog | Step-by-Step Guide | 2 Tutorials Inside – https://www.21-draw.com/how-to-draw-a-dog/?srsltid=AfmBOoo6K_yGO88bDuC4vPm5CcXvwzqpkGf1niV9FE_0OhDenHP3PjjK
- How to Draw a Dog – Video Lesson by Drawing Academy – https://drawingacademy.com/drawing-lessons/how-to-draw-a-dog
- How To Draw A Dog Drawing In 8 Short Steps – https://drawlish.com/blogs/trending-articles/how-to-draw-a-dog-drawing-in-8-short-steps
- How to Draw a Dog by Easydrawforkids – Make better art | CLIP STUDIO TIPS – https://tips.clip-studio.com/en-us/articles/8403
- How to draw a dog step by step? – Dogo – https://dogo.app/how-to-draw-a-dog-step-by-step/
- Dogs functionally respond to and use emotional information from human expressions – https://pmc.ncbi.nlm.nih.gov/articles/PMC10426098/
- Current Advances in Assessment of Dog’s Emotions, Facial Expressions, and Their Use for Clinical Recognition of Pain – https://pmc.ncbi.nlm.nih.gov/articles/PMC8614696/
- Evaluating the accuracy of facial expressions as emotion indicators across contexts in dogs – Animal Cognition – https://link.springer.com/article/10.1007/s10071-021-01532-1
- How to Draw a Dog Outline – Really Easy Drawing Tutorial – https://easydrawingguides.com/how-to-draw-a-dog-outline/
- How to Draw a Dog – https://medium.com/how-to-draw/how-to-draw-a-dog-47edf022b368
- How to draw a dog with colored pencils – a step by step tutorial – https://www.art-by-ewelina.com/2020/07/happy-shepherd-step-by-step-colored.html
- How to Draw a Dog with Color Pencils – https://www.artyfactory.com/drawing_animals/how_to_draw_a_dog.htm
- Simple Guides on How to Draw Cats And Dogs Easily – https://kreafolk.com/blogs/articles/how-to-draw-cats-and-dogs
- Yellow Lab Puppy Pyrography Tutorial wood burning – https://www.pyrographymadeeasy.com/2017/04/15/yellow-lab-puppy-pyrography-tutorial/
- Top 7 Steps for Learning How to Draw Realistic Animal Portraits – https://obby.co.uk/blog/top-7-steps-for-learning-how-to-draw-realistic-animal-portraits
- Paint with Your Dog: Quick and Easy Lick Painting Tutorial – Wear Wag Repeat – https://wearwagrepeat.com/paint-with-your-dog-lick-painting-tutorial/