As an artist, you might find drawing the human form tricky. Whether it’s action poses or detailed portraits, mastering figure drawing is key. But, with the right techniques and practice, you can draw the human body with confidence.
Renée Plevy, a skilled artist with over 50 years of experience, has shown her work in over 68 shows and galleries1. She teaches at the Boca Raton Museum Art School, having learned from top portrait artists1. Her hard work has won her many awards1, making her a great teacher for figure drawing.
Key Takeaways
- Understand the basic proportions and anatomy of the human body
- Learn how to use essential drawing tools and materials effectively
- Discover techniques for building the body from simple shapes and forms
- Master the art of drawing the head, facial features, torso, arms, and legs
- Explore ways to add texture, shading, and details for a realistic finish
Ready to improve your figure drawing skills? Let’s start the step-by-step guide to drawing the human body.
Understanding Proportions in Human Anatomy
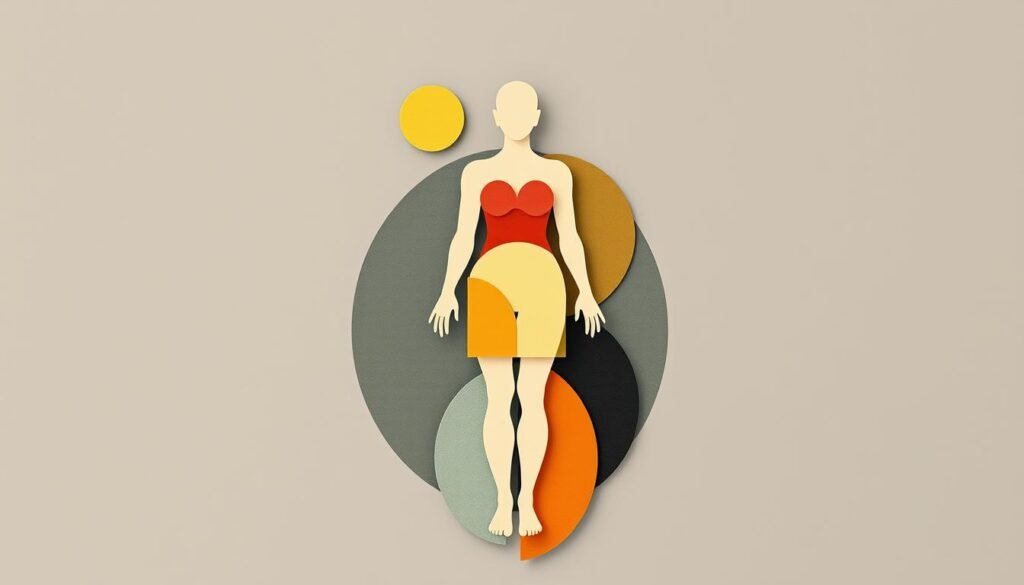
Learning to draw figures well means knowing a lot about human anatomy and how things are sized. Figures are usually seen as being between 7.5 and 8 heads tall in drawings2. This eight-head rule breaks the body into parts like the head, shoulders, chest, stomach, and legs.
Importance of Body Proportions
Knowing about human anatomy and its sizes is key for drawing figures right. Once you get the basics, you can add your own style. Learning about body parts’ sizes helps you draw figures correctly3.
Common Proportions to Know
Male and female bodies have different shapes. Men have wider shoulders and a square jaw, while women have softer features and a slimmer waist2. Here are some important proportions to remember:
- The line of the nipples is about two heads down from the top of the figure2.
- The navel or belly button is around three heads down from the top of the figure2.
- The pubic bone is about four heads down from the top of the figure2.
- The wrists align with the greater trochanters of the femurs (upper leg bone)2.
- The elbows align with the navel (belly button) in standing figure drawing proportions2.
Tips for Measuring Proportions
Getting good at drawing figures means mastering proportions3. Practice a lot to get better3. Learning about proportions is the first step in drawing figures3. Start by using basic shapes like spheres and cylinders to draw the body3.
“Marcus Vitruvius believed the height of the figure should be either eight heads or ten faces in the first-century BC.”2
These are basic proportions to know, but remember, everyone’s body is different2. Understanding human anatomy and proportions is the base for creating great figure drawings32.
Essential Tools and Materials for Drawing
Mastering the art of drawing the human body requires the right4 supplies and tools. Quality pencils, paper, and specialized materials are key. Each plays a vital role in your creative journey. Let’s look at the essential tools and materials needed to bring your drawings to life.
Sketching Supplies You Need
The basics include paper, pencils, and an eraser4. Derwent graphite pencils are top-notch. Buying individual pencils can save money if you only need specific grades4. Sketchbooks are vital for daily drawing practice4.
When choosing paper, consider texture, weight, and acid-free properties. Recommended options include drawing paper, charcoal paper, and Bristol paper4.
Other4 art materials like erasers are also important. They come in types like rubber, kneaded, gum, and vinyl/plastic. Each has its own purpose in drawing4. Quality pencil sharpeners, both manual and electric, are essential. The4 X-Acto Commercial sharpener is a durable electric option.
Types of Pencils and Paper
5 Graphite pencils range from hard (H) to soft (B). The 9H is the hardest, and 9B is the softest5. Soft pencils offer a wider range of tones than hard ones. Most drawings use HB or softer pencils5.
Pastel pencils are great for detailed work and shading. They come in many colors5. Colored pencils don’t need fixative. Layering colors creates different shades5.
5 Conté sticks and pencils are perfect for colored sketches. They’re available in many colors5. Charcoal sticks and pencils come in different grades and thicknesses. Compressed charcoal makes darker, sharper lines5.
Graphite sticks lack wooden casings. They’re available in various grades and shapes5. White chalk is available as a hard stick for details or as a soft pastel for blending.
Optional Tools for Advanced Techniques
5 Many types of pens are available, each creating different line widths and effects. Brushes, like sable brushes, are recommended for applying ink or watercolor washes5.
6 Shading and texture are key for realistic body drawings. Gesture drawing captures the body’s movement and flow6. Pencils vary in grade, with harder ones for lighter lines and softer ones for shading6.
A rougher paper texture is best for texture in drawings. Smoother paper is better for detailed work6.

The right4 supplies and tools are essential for your artistic journey. Experiment with different materials to find what suits your style and preferences.
Basic Shapes and Forms to Build the Body
Learning to draw the human body starts with basic shapes and forms. Begin with simple geometric shapes to build a solid foundation for your drawings. This ensures accurate proportions and a natural three-dimensional look7.
Starting with Basic Shapes
Start by sketching the body’s wire frame with simple shapes and lines. Use ovals for the head and torso, circles for joints, and straight lines for limbs. Add shapes like trapezoids for the chest and pelvis to outline the figure’s structure7.
Combining Shapes for Structure
After laying down the basic shapes, mix them to form the body’s structure. See the body as a mix of shapes, like ovoids for the head and torso, and column forms for limbs. Use spatulate forms for the chest and pelvis7.
Understanding 3D Forms
It’s key to see the human form as three-dimensional for realistic drawings8. An adult figure is about 7 to 8 heads tall. The torso is 2.5 to 3 heads long, and the legs are 4 heads long from waist to feet8. Knowing these proportions helps you capture the body’s depth and volume, making your sketches more realistic.

Practicing these basic elements of figure drawing sharpens your anatomy skills and deepens your understanding of the human form. Remember, mastering the basics is essential for creating dynamic, expressive, and realistic drawings7.
| Body Part | Typical Proportions |
|---|---|
| Overall Figure | 7-8 heads tall |
| Torso | 2.5-3 heads from neck to waist |
| Legs | 4 heads from waist to feet |
| Arms | Same length as the head from shoulder to fingertip |
Drawing the Head and Facial Features
Learning to draw the human head and facial features is key to improving your figure drawing skills. The head, with its unique proportions and expressive features, can make your artwork come alive. It can also show a wide range of emotions. Let’s look at the main techniques and principles to help you capture the essence of the head in your drawings.
Head Proportions and Shapes
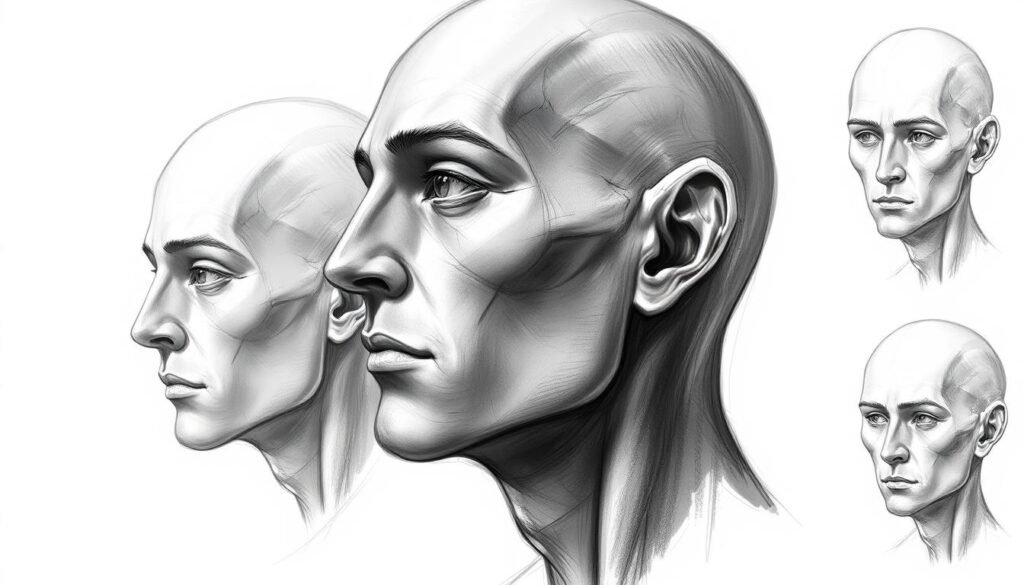
The head is usually an oval shape, but it can change based on the figure and body type. Male heads often have square jaws, while female heads are more egg-shaped with softer features.9 To get the proportions right, following the Loomis method is helpful. It breaks down the head into a sphere for the cranium and a block for the jaw and cheekbones9. The sides of the head are seen as flat planes, making it easier to slice off pieces from both sides of the ball9.
Adding Facial Features: Eyes, Nose, and Mouth
When adding facial features, avoid over-emphasizing them. Start with basic shapes like circles for the eyes, triangles or pyramids for the nose, and “M” or “U” shapes for the mouth.10 Focus on the placement and proportions of these features. For example, the width of the nose should be roughly the same as the inner corners of the eyes11. Also, the corners of the mouth should align with the inner edges of the pupils11.
Expressions and Emotions
To bring your drawings to life, mastering expressions and emotions is essential. Practice drawing various head angles and facial expressions to develop your skills.9 Understanding how facial features work together to create emotions is key. For example, sharper angles can show intensity or villainy, while rounder forms can show friendliness or approachability10.

By learning about head proportions, shapes, and techniques, you’ll improve your figure drawings. Keep practicing and try different approaches to find what suits your style best91011.
Sketching the Torso and Arms
Learning to draw the human body starts with knowing the torso and arms’ structure and size. The Renaissance rule says the ideal body is eight heads long12. This rule helps in sketching the body’s shape. But, it’s important to note that male and female bodies are different, which affects how we draw them12.
Torso Structure and Proportions
The torso looks like a trapezium, covering the second and third parts of the eight-head rule13. It’s key to know the spine’s parts to draw its natural curves and angles13. Male torsos are wider at the top with broad shoulders. Female torsos are narrower at the bottom, with a curved waistline14.
Drawing Different Arm Poses
Arms usually take about 2.5 segments, with the upper arm being 1.5 segments and the forearm 1 segment12. It’s important to practice drawing arms in different poses. This helps us understand how joints and muscles work together12. Using tonal value, cross-hatching, and refining forms can make your drawings more realistic13.
Understanding Elbow and Shoulder Joints
The elbow and shoulder joints are key for arm movement and expression. Getting these joints right can make your arm drawings more accurate and lively13. Drawing male figures might be easier because there’s less room for error. Female figures, with their slender rib cages and fuller breasts, are more challenging14.
By learning about the torso and arms, and practicing drawing different poses and features, you’ll get better at creating realistic body drawings121314.
Legs and Lower Body Basics
Drawing the human figure focuses a lot on the legs and lower body. The Renaissance rule for the ideal human is eight heads long15. The legs make up the bottom three parts. Knowing how to draw legs and feet right can make your characters look real.
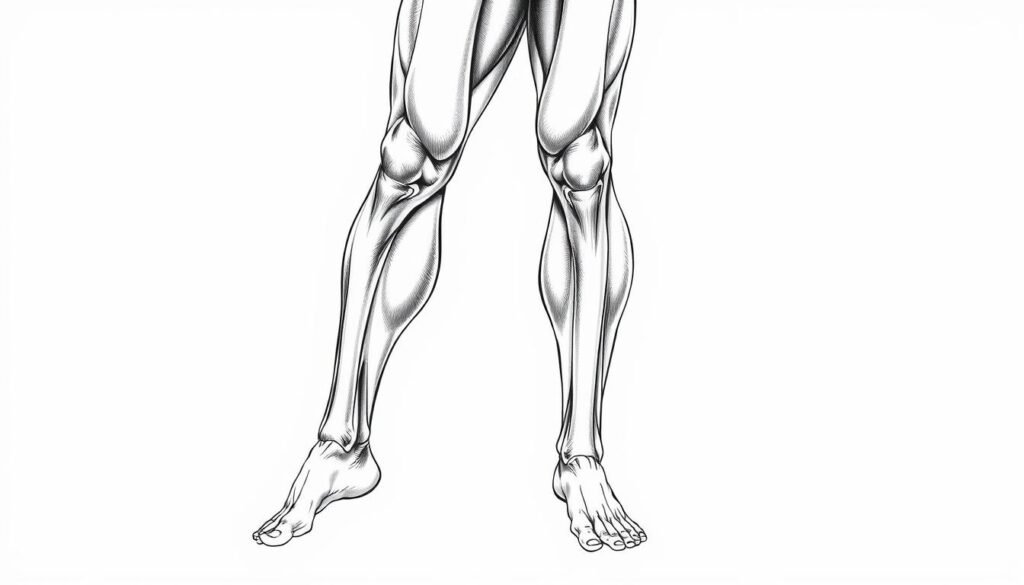
Proportions of the Legs
The knee is usually on the sixth line of the body15. Men and women have different leg sizes. Men’s legs are closer to the hips, while women’s legs are wider and curvier15. Learning these differences can make your characters look more real.
Drawing Feet: Shapes and Positions
Start with basic shapes when drawing feet, then add details15. Feet are key for the body’s pose and movement. Try different foot positions to show emotions and energy in your drawings.
Creating Movement in the Legs
It’s important to draw legs in motion well. Gesture drawing helps artists draw bodies fast and capture their pose15. By practicing, you’ll get better at showing how legs move, making your drawings more natural.

The legs are about half of the body’s length16. Knowing the muscles in the legs is key for realistic drawings16. Keep practicing and paying attention to details to master drawing legs and lower body.
“Gesture drawing is a significant exercise for learning how to draw a body quickly and capturing the body’s general feel and pose.”
Adding Detail to Your Drawing
After setting up the basic structure of your drawing, it’s time to add the final touches. Learning shading techniques is essential for depth and dimension in your artwork17. Studying the muscle and bone structure of the human form is key to drawing it realistically17. Don’t forget small details like skin folds, hair strands, and clothing wrinkles to make your drawing more realistic17.
Shading and Texture Techniques
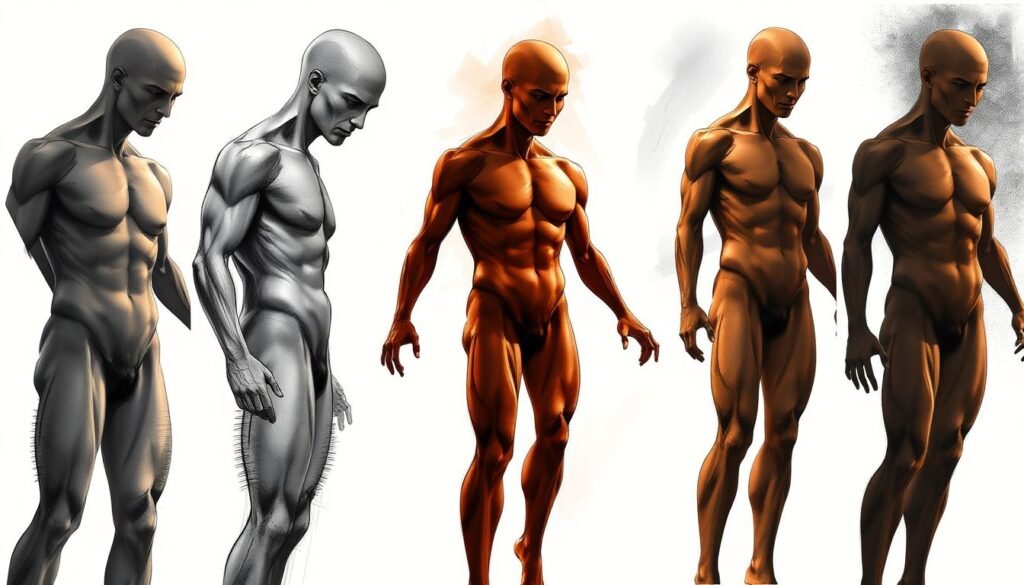
Try different shading and texturing methods to add depth and interest to your drawing. Use hatching, cross-hatching, stippling, or blending for various effects. Focus on how light and shadow fall on the body, highlighting its contours18. Experiment with different pencils to get different textures and values.
Emphasizing Muscle and Bone Structure
It’s vital to understand the muscle and bone structure of the human form for realistic drawings18. Study anatomical references and observe how the body moves. Focus on accurately drawing the major muscle groups and the skeletal structure they support.
Finalizing Details for a Realistic Look
When adding the final touches, focus on small details that greatly impact realism18. Consider the texture and folds of the skin, the individual strands of hair, and how clothing drapes and wrinkles. These details can make your figure feel more real and believable.

“The devil is in the details, and mastering the small nuances of figure drawing is what separates a good artist from a great one.”
Remember, the smallest details are what make a drawing realistic. With practice and attention to detail, you can create drawings that captivate your audience18.
Practicing Movement and Action Poses
To make your drawings pop, practice drawing different action poses. Gesture drawing is great for capturing movement quickly19. It’s about making simple sketches that show the body’s movement, not details.
Key Poses for Dynamic Drawings
Try drawing figures in various poses, like sitting, dancing, or lying down20. This helps you show movement and energy. Focus on the lines that guide the viewer’s eye.
How to Capture Motion
Use foreshortening and perspective to add depth and movement to your drawings21. Drawing from real-life images or models helps you see how bodies move. Remember, exaggeration makes your figures more dynamic.
Improving Your Imagination for Action Scenes
Practice gesture drawing and action poses to get better at imagining dynamic figures19. Try drawing for different times, from quick sketches to longer studies19. It’s about getting better, not being perfect.
“Drawing action poses is a surefire way to improve your ability to capture movement and energy in your artwork.”
By using these techniques, your drawings will come alive with energy20. So, pick up your pencils and dive into dynamic drawing and action poses!
Tips for Continuous Improvement in Drawing
Improving your figure drawing skills takes consistent practice. Fill your sketchbooks with studies of different body parts and poses22. Use reference images, live models, or trace over drawings to learn about proportions and movement22.
Seek feedback from other artists or art communities to find areas for improvement. Look into online tutorials, art classes, or specialized courses on figure drawing23. Remember, even great artists like Van Gogh spent years mastering human proportions, so be patient with your progress23.
Ways to Practice Effectively
Drawing many small sketches allows for more practice and completion of more works than focusing on larger pieces22. Freehand sketching with and without references are exercises that aid in testing learned skills and knowledge22. Live drawing, while beneficial for practicing correct proportions, can be challenging, as it involves moving subjects like animals22.
Seeking Feedback on Your Work
Tracing a reference can help improve the ability to spot mistakes and teach how different sections look22. Seeking feedback from other artists or art communities can help identify areas for improvement and provide valuable insights to enhance your drawing skills.
Resources for Further Learning
Mastering basic concepts like anatomy, proportions, shapes, forms, perspective, and understanding light and shadow is key23. Use resources like online tutorials, anatomy books, and join art communities for inspiration and guidance23. Different approaches to learning art are acknowledged, with individuals encouraged to find a method that works best for them23.
FAQ
What are the basic steps to drawing a human body?
Why is understanding human proportions important for figure drawing?
What essential supplies do I need to start drawing the human body?
How do I build the structure of the human body using basic shapes?
What are some tips for drawing accurate facial features and expressions?
How do I capture the movement and dynamics of the human body in my drawings?
What are some effective ways to improve my figure drawing skills?
Source Links
- How to Draw a Body in 7 Quick & Easy Steps – https://www.wikihow.com/Draw-a-Body
- 7 Figure Drawing Proportions to Know – https://www.thedrawingsource.com/figure-drawing-proportions.html
- Figure Drawing Explained: An In-Depth Look at the Art of Sketching the Human Body – https://shop.sktchy.com/blogs/blog/figure-drawing-explained-an-in-depth-look-at-the-art-of-sketching-the-human-body?srsltid=AfmBOopTpKvT3X1cn-0VAkqBGdwrjY8LklGlU_5-keS9hMfHWPCLgnbA
- 10 Essential Drawing Materials and Tools for Beginners – https://thevirtualinstructor.com/blog/10-essential-drawing-materials-and-tools-for-beginners
- 15 Essential Tools for Drawing | Artsy – https://www.artsy.net/article/artsy-editorial-pencils-papers-erasers-start-drawing
- How to Draw Body: A Beginner’s Guide | Sky Rye Design – https://skyryedesign.com/tutorials/how-to-draw-body/
- How to Draw the Figure with Basic Forms – https://ramstudioscomics.com/index.php/2023/10/27/how-to-draw-the-figure-with-basic-forms/
- Body Drawing Basics: A Step-by-Step Guide for Beginners | – https://skyryedesign.com/art/body-drawing-basic/
- How to Draw the Head from Any Angle Part 1 – Stan Prokopenko – https://stanprokopenko.com/2012/08/video-draw-head-angle-1/
- How to Draw Heads from Any Angle – Step by Step – Tutorial – Ram Studios Comics – https://ramstudioscomics.com/index.php/2023/04/04/how-to-draw-heads-from-any-angle-step-by-step-tutorial/
- How to Draw a Face – https://thevirtualinstructor.com/facialproportions.html
- How to Draw a Body (Male & Female) Step-by-Step Guide – https://www.21-draw.com/how-to-draw-a-body/?srsltid=AfmBOorSOUYln0ZWwf4EtCRtYpr2fLXoNVdc-xxpJ3v5OqU41ZtIny0P
- How to Draw the Torso with Simplified Anatomy – Ram Studios Comics – https://ramstudioscomics.com/index.php/2022/05/25/how-to-draw-the-torso-with-simplified-anatomy/
- How To Draw The Torso: Front View – https://www.howtodrawcomics.net/post/how-to-draw-the-torso-front-view
- How to Draw a Body (Male & Female) Step-by-Step Guide – https://www.21-draw.com/how-to-draw-a-body/?srsltid=AfmBOorXF__37ub9zgIop5JPv_e4865G0zg9tXGb1c2kxCEw–KmWSGm
- How To Draw Legs – https://www.howtodrawcomics.net/post/how-to-draw-legs
- How to Draw More Dynamic Character Bodies— Character Design Forge – https://brookeseggleston.com/blog/draw-more-dynamic-character-bodies
- How to Draw People for Beginners (to add to your paintings) — Kerrie Woodhouse – Easy, Expressive Watercolour for Beginners – https://www.kerriewoodhouse.com/blog/how-to-draw-people-for-beginners-to-add-to-your-paintings
- Lines of Action – https://artistcoveries.wordpress.com/2021/08/17/lines-of-action/
- Give Me a Minute or Two – DRAWING LIFE by fred hatt – http://fredhatt.com/blog/2010/01/22/give-me-a-minute-or-two/
- Bring Energy and Life to Your Poses! – https://www.clipstudio.net/how-to-draw/archives/156164
- How to get better at drawing proportions by BeckyKidus on DeviantArt – https://www.deviantart.com/beckykidus/art/How-to-get-better-at-drawing-proportions-981859733
- Help learning how to draw – https://archive.supercombo.gg/t/help-learning-how-to-draw/20446